Customers judge quality long before they use your product. They read cues from the box, the textures, the way things open, and the small details that suggest care and craft.
Smart, budget-conscious packaging tweaks can shift that perception without requiring a full reprint or custom die-cut program.
This guide focuses on simple, scalable upgrades—belly bands, thank-you stickers, and scent seals—that add polish, signal quality, and create a more memorable unboxing while keeping unit costs and assembly time in check.
Why Perceived Value Is a Packaging Job Now
Perceived value is the gap between what your product costs to make and what a buyer believes it’s worth. Packaging plays a central role in shaping that belief, especially in DTC and marketplace contexts where the first physical touchpoint often happens at home.
- Clear brand signals: Consistent marks, textures, and opening sequences make products feel “put together” and trustworthy.
- Sensory prompts: Tactile paper stocks, subtle scent, and satisfying closures create small moments that feel premium.
- Repeatable process: Upgrades must be easy to store, apply, and reorder so the experience stays consistent as you scale.
Quick Wins That Pay Off Fast
Belly bands that do the branding heavy lifting
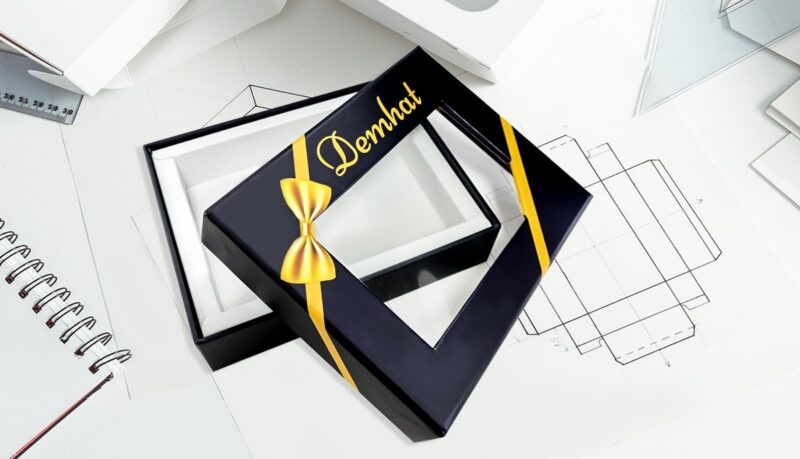
Belly bands wrap around a primary box, mailer, or pouch to add an instant layer of branding without changing your base packaging.
They’re ideal for product families, seasonal runs, and limited editions where a full packaging redesign would be costly.
How to implement:
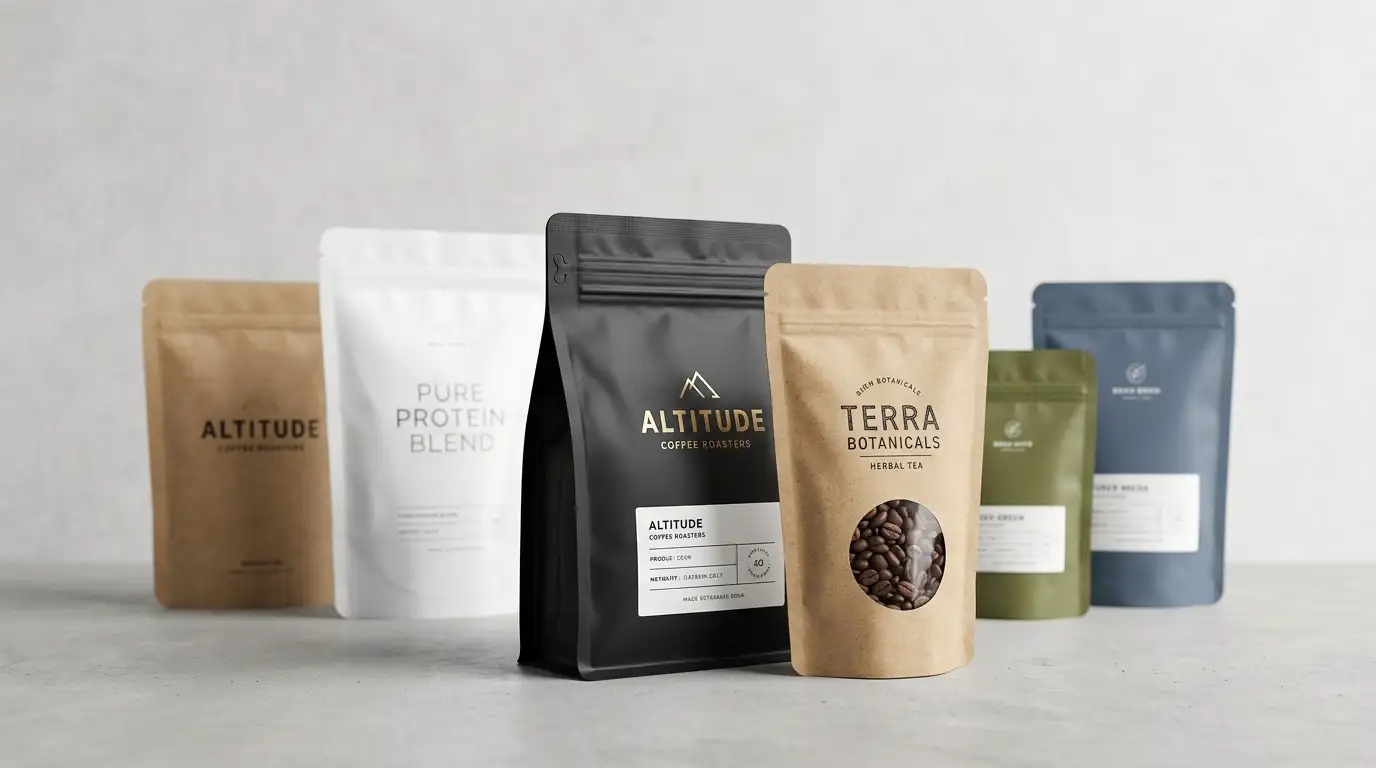
- Materials: 80–100 lb text stock or lightweight cover stock works well. Kraft, uncoated white, or a soft-touch laminate can signal different brand moods.
- Sizing: Measure the outer girth of the package and add a 0.5–0.75 inch overlap. Score the folds for crisp edges and faster assembly.
- Production: Print at home for short runs or at a local print shop for bulk. Keep art mostly ink-light to avoid band warping and smudges.
Where belly bands work best:
- Subscription boxes rotating themes each month
- Gift sets that need a clear title or variant callout
- Wholesale orders that must meet retailer planogram notes
Unit economics: Expect $0.05–$0.18 per band depending on stock, ink coverage, and volume. Assembly adds ~15–25 seconds per order when bands are pre-scored and staged.
Thank-you stickers that feel personal
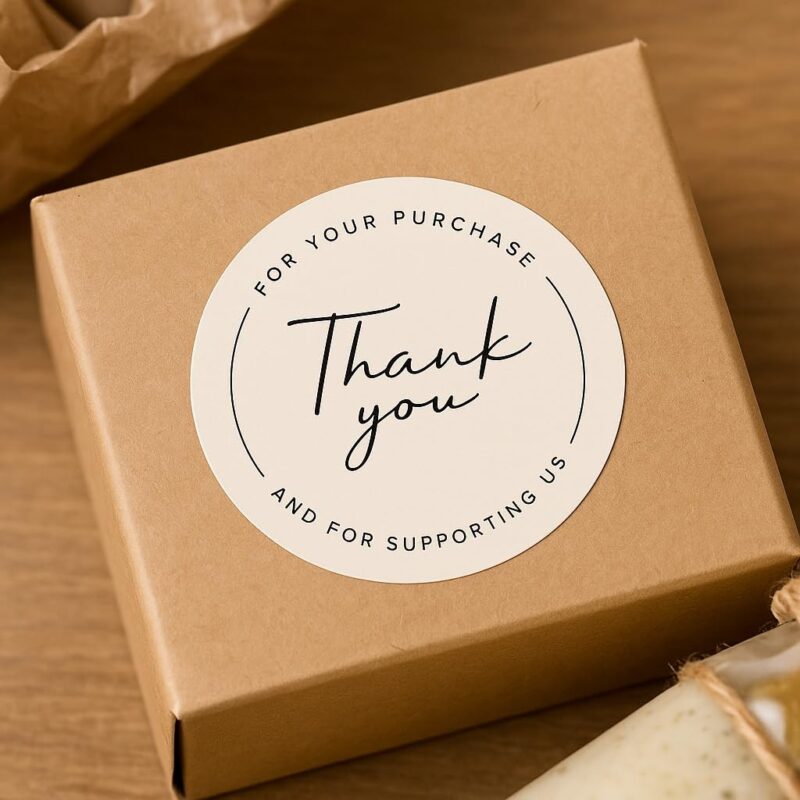
A short, genuine message can do as much as any elaborate insert. Use a small round or oval sticker to close tissue, secure a band, or seal a mailer flap while delivering a note in your brand voice.
Copy tips:
- Keep it short and specific: “Thanks for supporting small-batch skincare” lands better than a generic “Thanks for your order.”
- Use a signature line: A founder name or team sign-off adds credibility.
- Match tone to product: Playful brands can be witty; technical brands can be precise and reassuring.
Placement ideas:
- Across tissue folds for a neat reveal
- On the outer mailer flap so the message hits first
- On a belly band overlap to hide the seam and add a focal point
A simple sheet of 1.5 inch round labels lets you add branded seals without worrying about printer jams.
Scent seals to create memory cues
Smell is a powerful memory trigger. A subtle scent on a seal or tucked insert can make your unboxing feel distinct without overpowering the product.
Practical options:
- Lightly scented stickers: Use a minimal microdrop of fragrance oil on the backer, allow to dry, then apply. Test to prevent bleed.
- Wax seals: Use soy-based or low-smoke wax, and press into a pre-scented tissue strip so fragrance diffuses gently when opened.
- Sachet slip-ins: A tiny kraft sachet with a faint botanical blend can sit beneath tissue without contacting the product.
Guidelines:
- Go subtle: The goal is a hint, not a perfume counter. Keep it consistent with your brand notes (citrus for fresh, cedar for earthy, etc.).
- Isolate and test: Store scented items separately, and test across hot/cold conditions to confirm adhesion and no transfer.
- Check product compatibility: Avoid scent for fragrance-sensitive categories or when it could mask the product’s own aroma.
Make It Look Custom With Print-at-Home Tactics
Stock choices and finishes that signal intent
You don’t need specialty foils to look thoughtful. Strategic material choices communicate quality affordably.
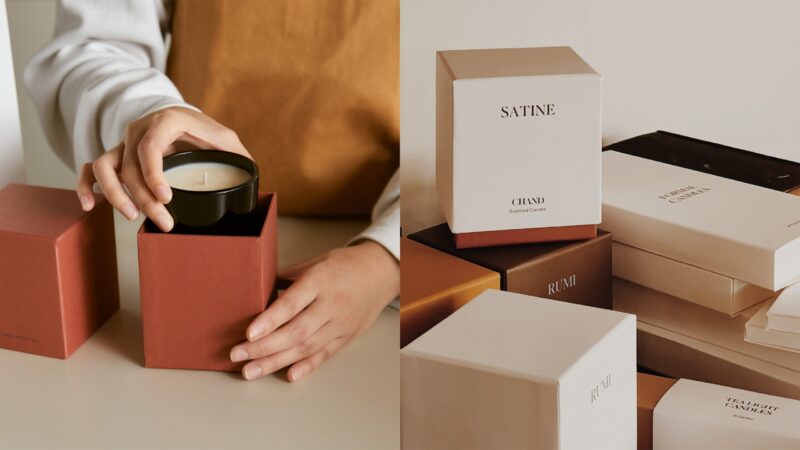
- Uncoated white or natural kraft: Soft, tactile feel that reads handcrafted and honest.
- Smooth matte label stock: Clean, contemporary look with good writability for small notes.
- Strong adhesive options: Choose permanent adhesive for boxes and tissue; removable for glassware or reusable tins.
Layout and prepress tips that reduce waste
Small layout choices protect margins and quality.
- Gang print: Arrange multiple bands or labels on a single sheet to cut time and scraps.
- Allow for bleed: 1/8 inch bleed and safe margins keep cuts clean and stress-free.
- Test prints: Run a single sheet first, check color shifts, adjust for any feed skew, and then commit to a batch.
Low-Cost Finishing Touches That Add Up
- Tissue wrap: One or two folds create a ritual and hide internal padding. Neutral tissue with a branded seal keeps ink and costs low.
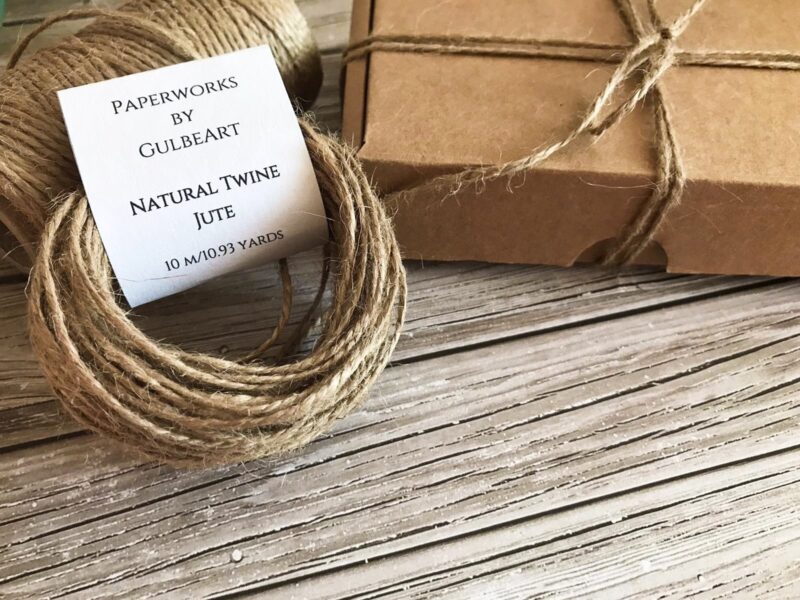
- Twine or thin cotton cord: A single wrap and knot reads intentional and adds tactile interest; store precut lengths for speed.
- Washi or paper tape accents: A short strip on an inside flap or